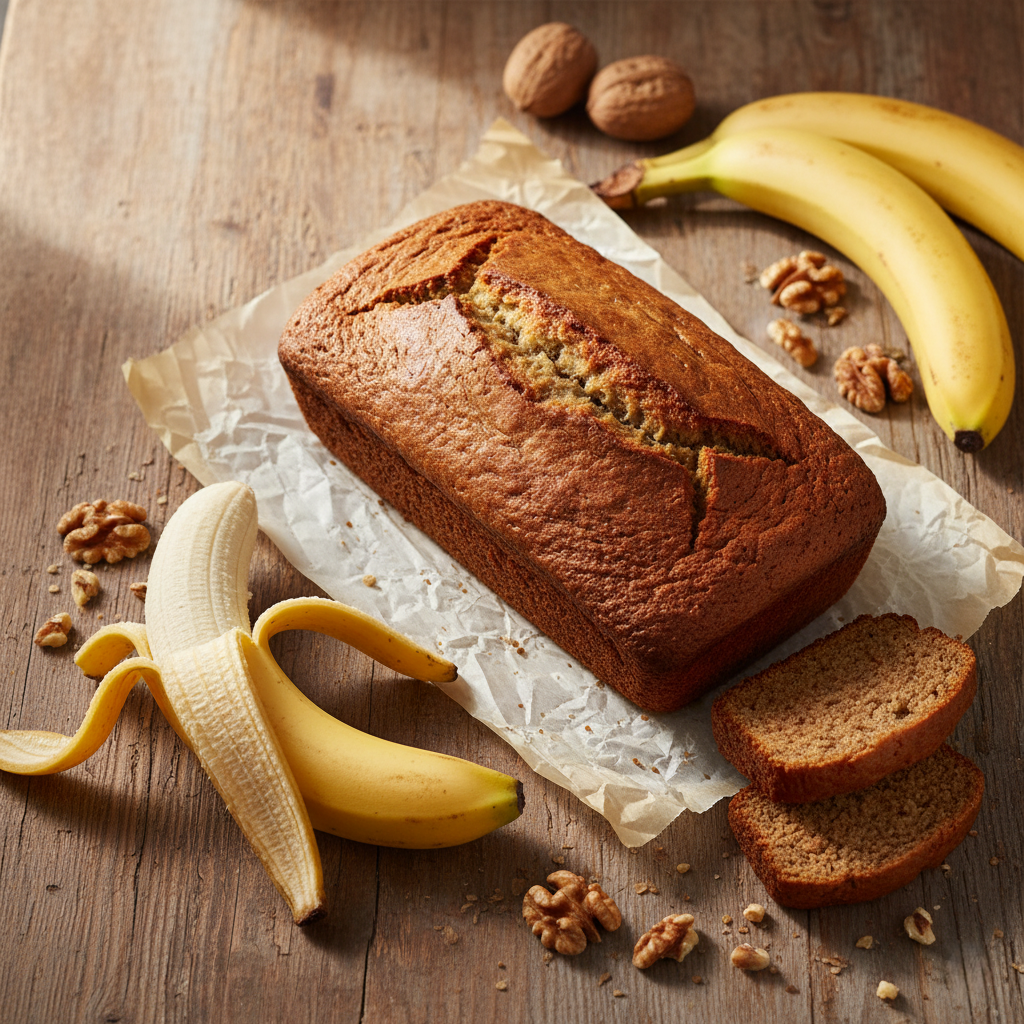
Indulge in moist, bakery-quality banana bread bursting with rich banana flavor and a hint of vanilla. This recipe uses very ripe bananas for natural sweetness and a butter-oil combo for lasting moisture. With gentle mixing, you’ll get soft, tender slices every time — never dense or gummy.
There’s nothing quite like the smell of banana bread in the oven to start your morning right. If you’re looking for another weekend breakfast favorite, try our Perfect Fluffy Pancakes for a stack that rivals your favorite diner.
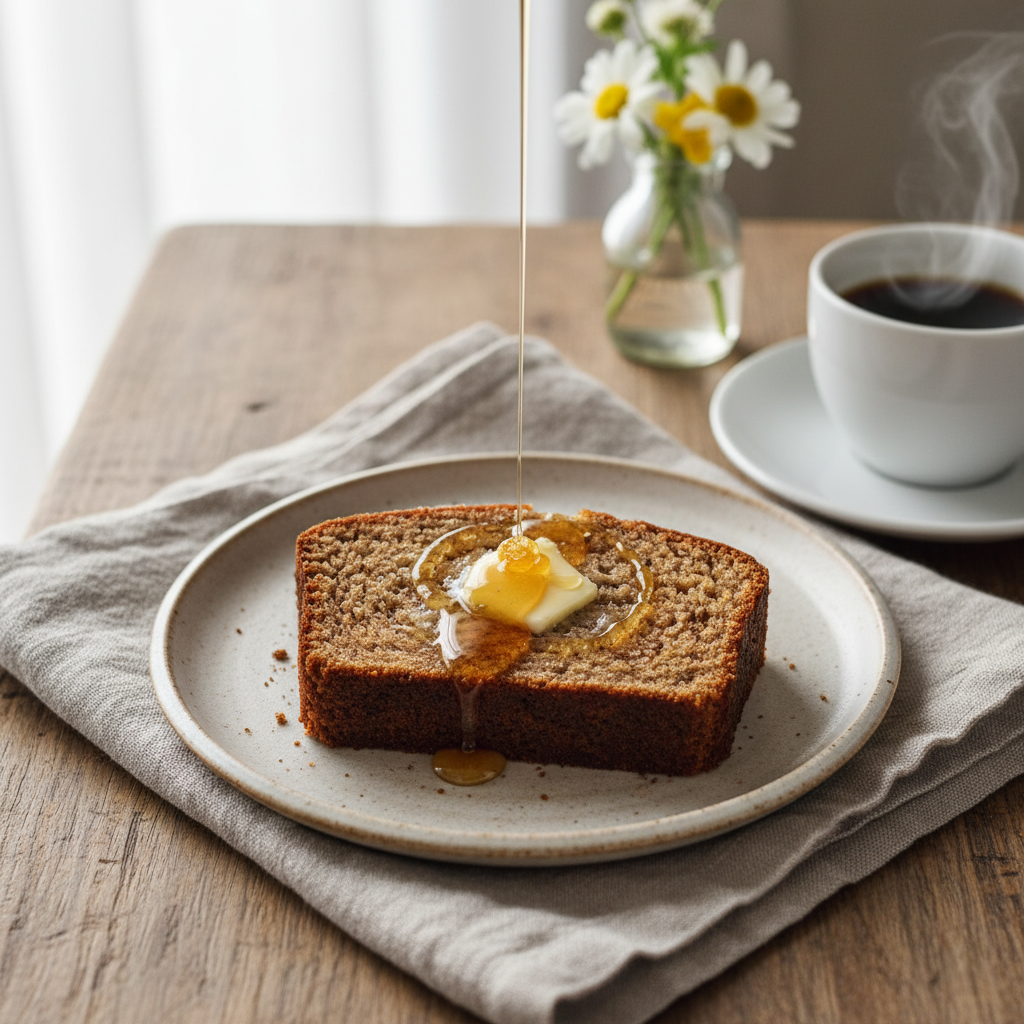
Table of Contents
Why This Recipe Works
This banana bread shines due to its moist yet tender crumb, achieved by balancing butter and oil and relying on very ripe bananas for natural sweetness. Gentle mixing prevents toughness while baking in a light-colored metal pan ensures even heat distribution, avoiding common issues like gummy centers or burnt edges. Optional mix-ins add texture and flavor without complicating the recipe.
Using very ripe bananas isn’t just about sweetness; it’s about packing in flavor and nutrition. This recipe allows you to enjoy the Potassium and nutrient levels in bananas in a form that feels like a treat.
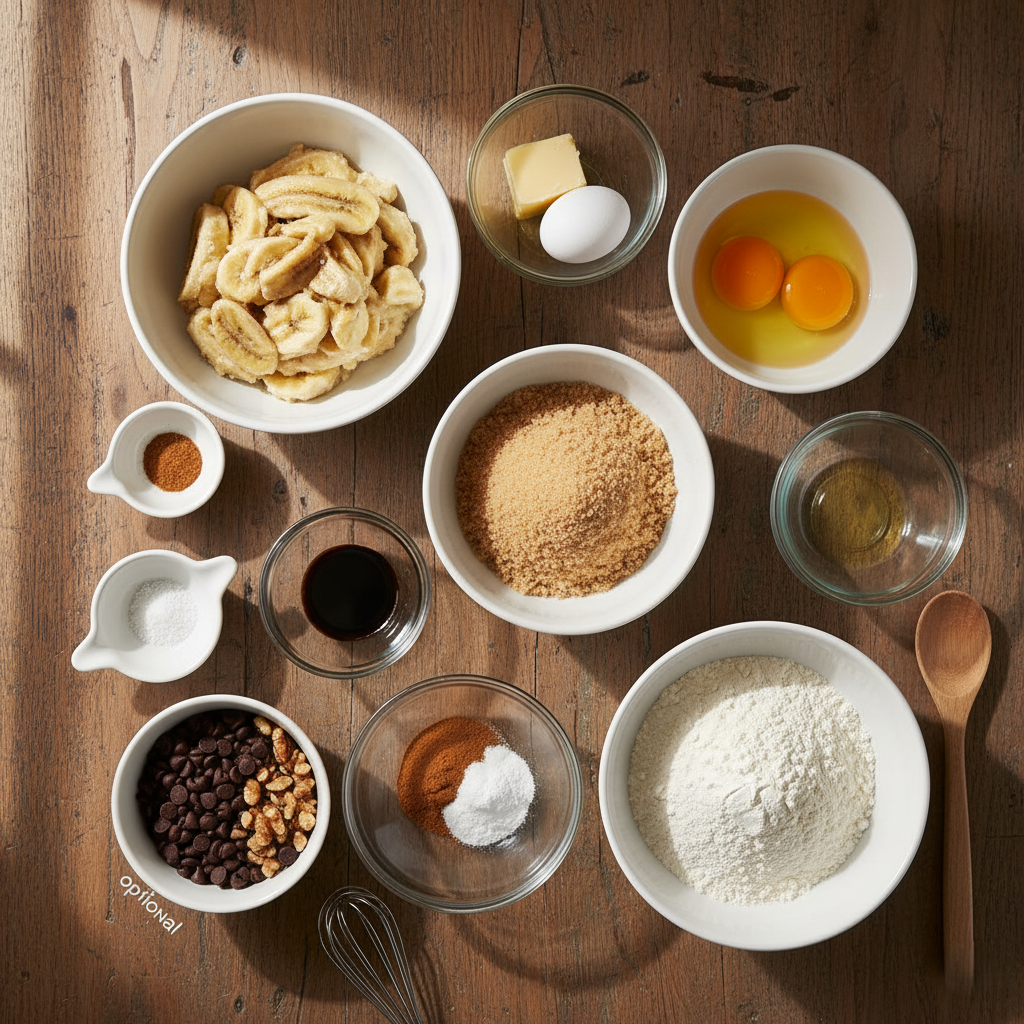
Ingredients
Wet Ingredients:
- 1 3/4 cups mashed very ripe bananas (3-4 medium, 360-430g)
- 3/4 cup light brown sugar, packed
- 2 large eggs, room temperature
- 1/4 cup unsalted butter, melted and cooled
- 1/4 cup neutral oil (canola or grapeseed)
- 2 tsp vanilla extract
Dry Ingredients:
- 1 3/4 cups all-purpose flour
- 1 tsp baking soda
- 1/2 tsp fine salt
- 1/2 tsp ground cinnamon (optional but recommended)
Mix-ins (Optional):
- 1 cup chopped toasted walnuts or chocolate chips
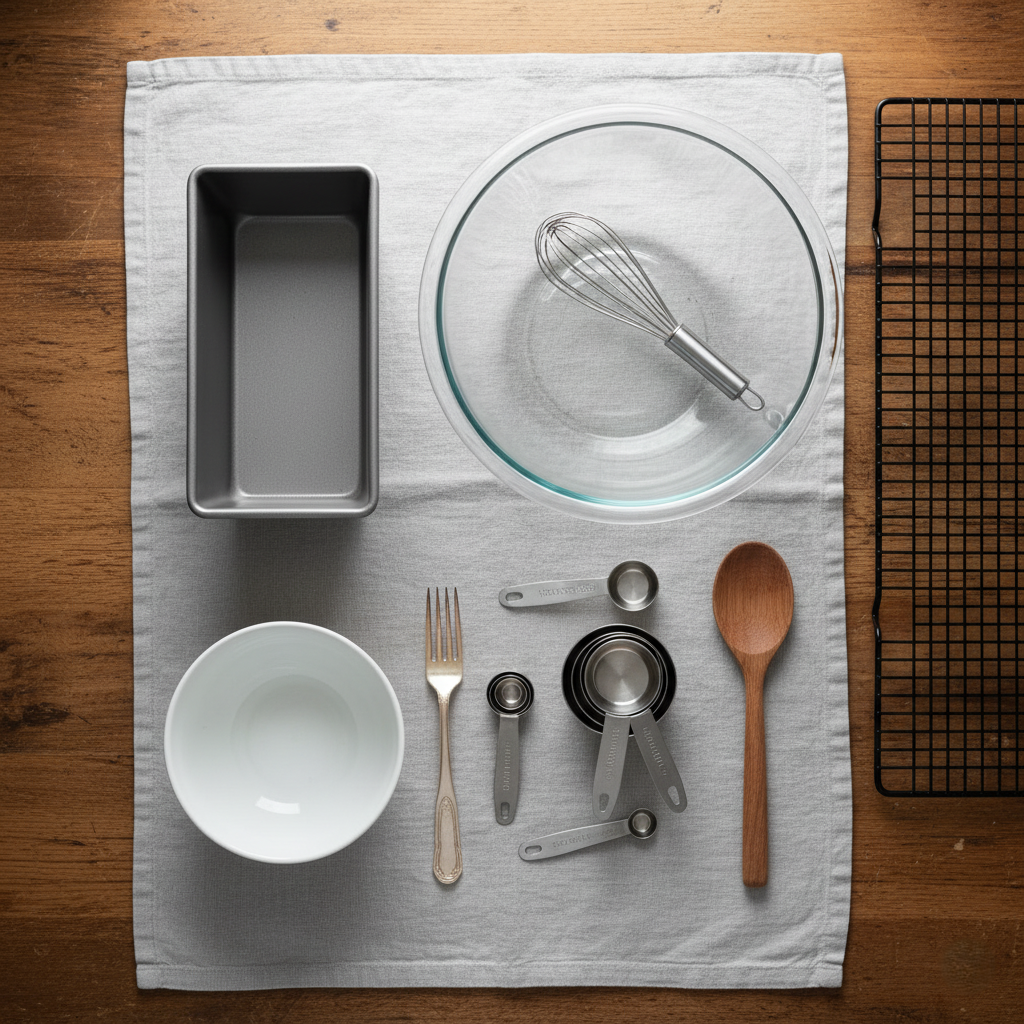
Equipments
- 9×5 inch metal loaf pan
- mixing bowls (medium and large)
- whisk
- fork or masher
- wooden spoon or spatula
- measuring cups and spoons
- wire cooling rack
Instructions
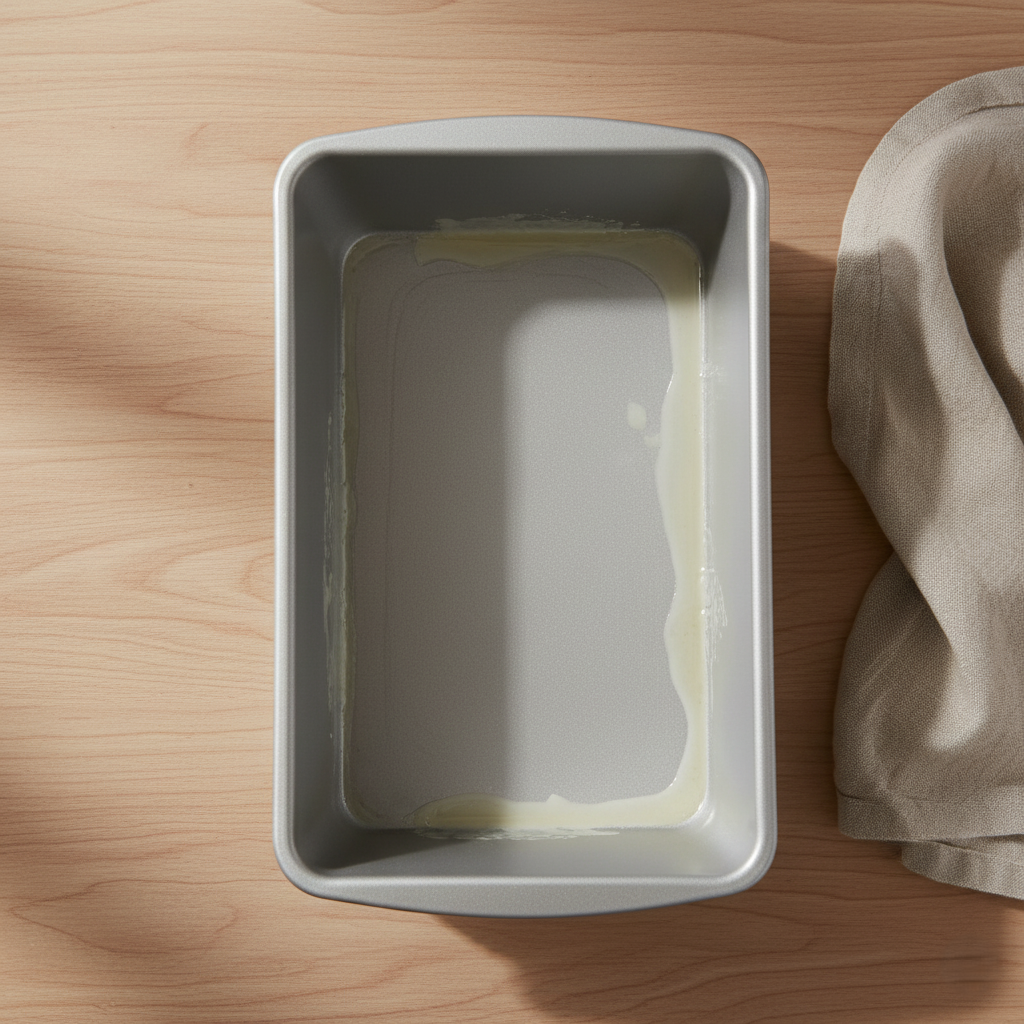
1. Prep Your Pan
Start by preheating your oven to 350°F (175°C) to ensure steady, even heat throughout the baking process. Select a light-colored 9×5-inch metal loaf pan, which conducts heat evenly without dark spots that could scorch the edges or create underbaked centers. Generously grease the pan with butter or non-stick spray, making sure to coat every corner and crease thoroughly, then dust lightly with flour and tap out excess—this creates a perfect non-stick surface for easy release. If using a smaller 8½×4½-inch pan instead, reduce the batter by 10-15% to prevent overflow and guarantee proper baking density throughout.
2. Mash and Measure Bananas
Select 3-4 very ripe bananas with dark, spotty skins for maximum sweetness and flavor concentration, then peel and place them in a medium bowl. Using a fork or potato masher, smash the bananas thoroughly until mostly smooth but retaining a few soft lumps for authentic texture and visual appeal in the finished bread. Carefully measure out exactly 1 3/4 cups (or 360-430g by weight for precision), scraping the bowl clean—this exact amount delivers bold banana essence without excess moisture that could make the crumb gummy or lead to sinking.

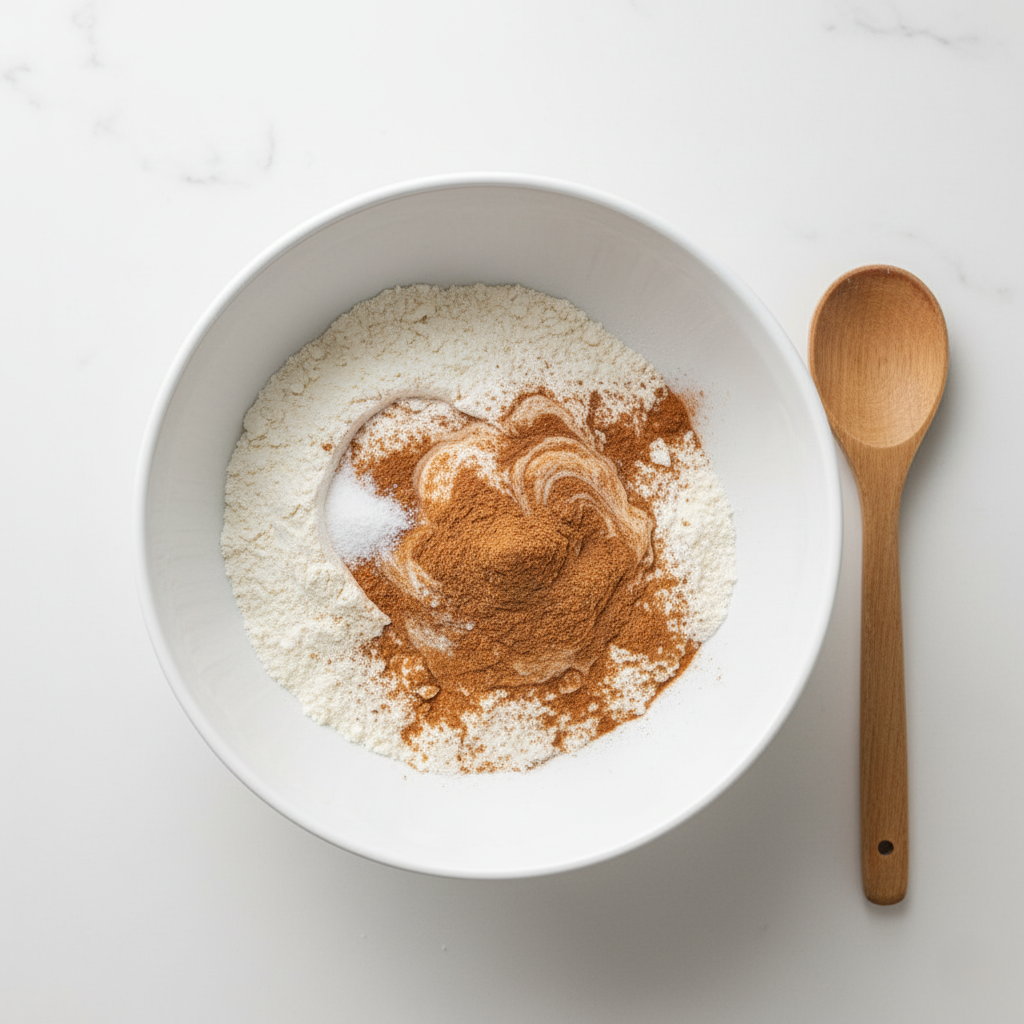
3. Whisk the Dry Ingredients
In a medium mixing bowl, measure 1 3/4 cups all-purpose flour, 1 tsp baking soda, 1/2 tsp fine salt, and 1/2 tsp ground cinnamon. Using a whisk, vigorously stir these dry components together for 20-30 seconds until completely uniform—this thorough blending distributes the leavening agent evenly, eliminates potential flavor pockets, and prevents unsightly tunneling or uneven rise in your loaf.
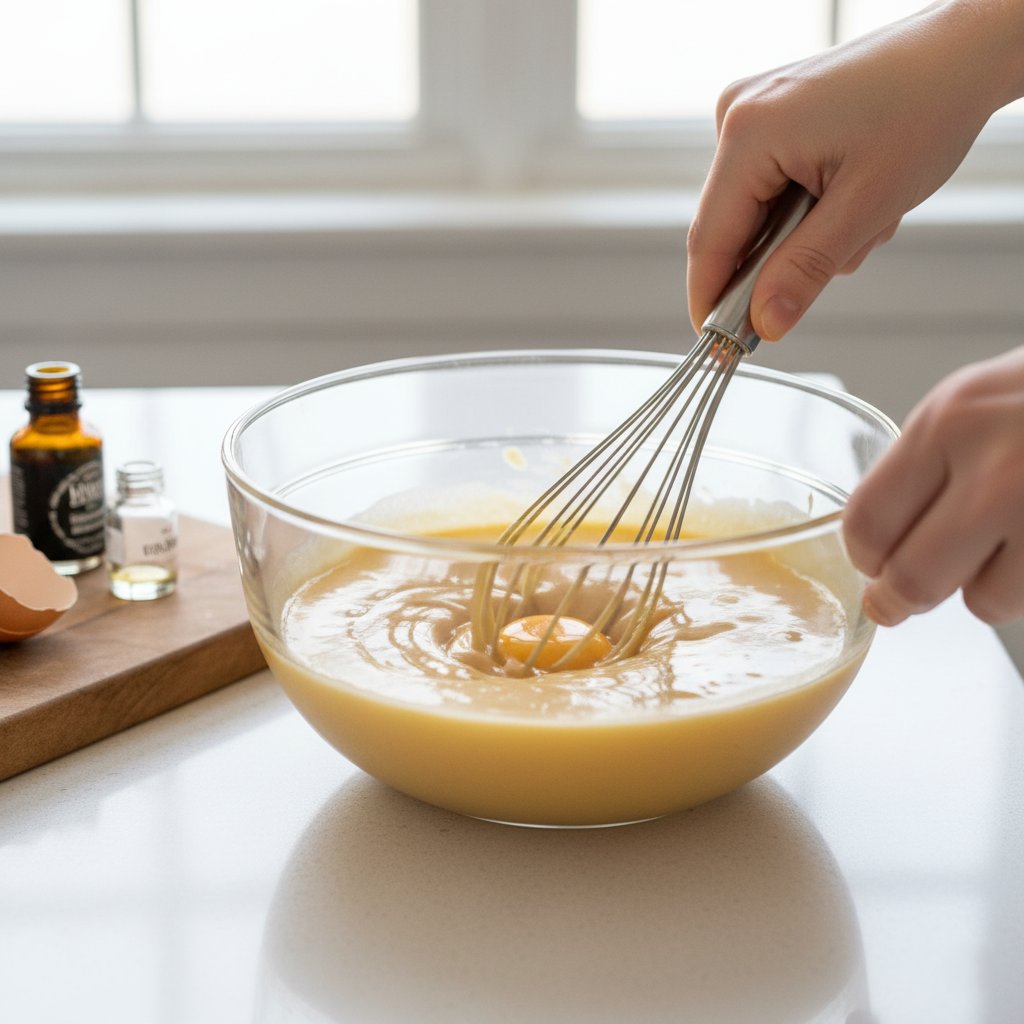
4. Build the Wet Base
Switch to your large mixing bowl and add 3/4 cup packed light brown sugar, 1/4 cup melted and slightly cooled unsalted butter, and 1/4 cup neutral oil. Whisk energetically for 1 minute until the mixture turns glossy and fully emulsified, creating a luscious base. Crack in the 2 room-temperature eggs one at a time, whisking vigorously after each addition until completely incorporated and airy, then stir in 2 tsp vanilla extract. Finally, fold in your precisely measured mashed bananas, mixing just until evenly distributed throughout the glossy wet mixture.
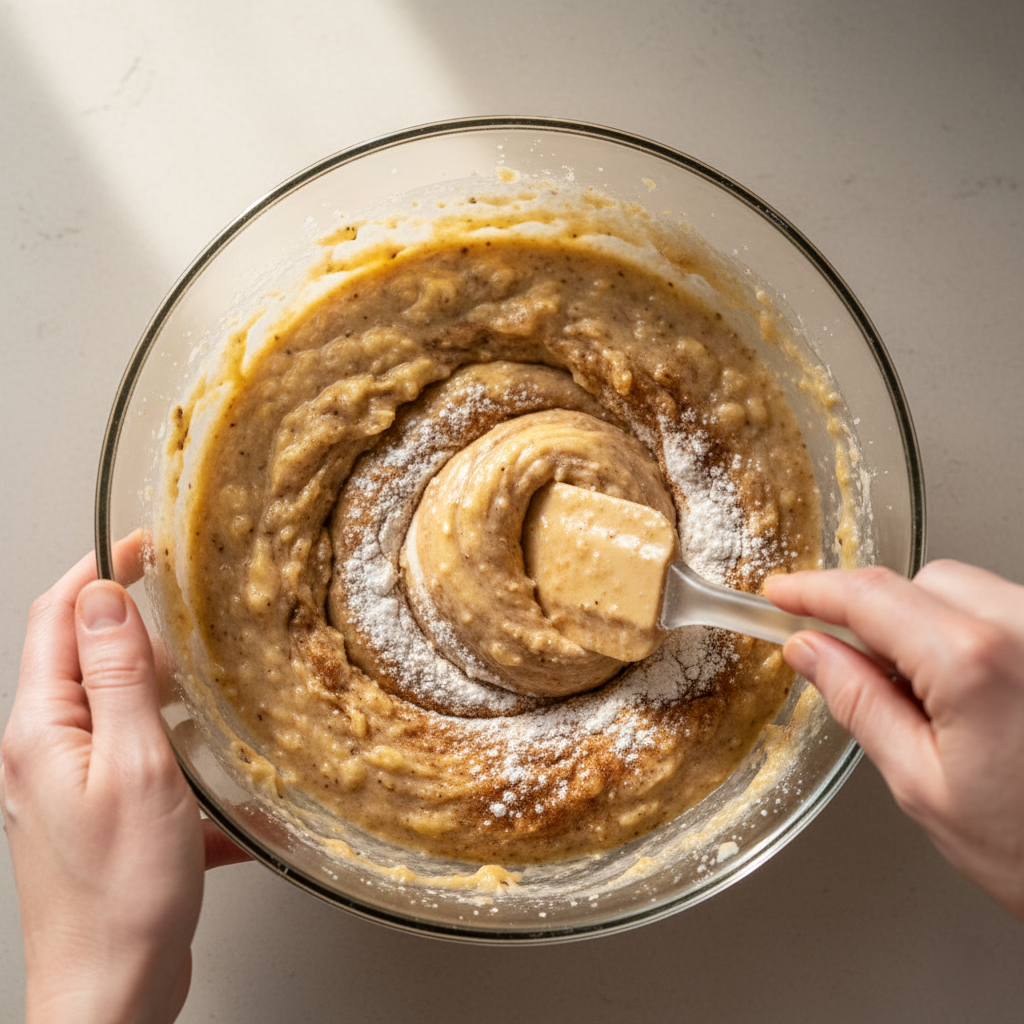
5. Combine Wet and Dry
Pour half of the whisked dry ingredients into the wet banana mixture, then gently fold with a wooden spoon or spatula using minimal strokes—just until the flour starts to disappear and no large streaks remain. Add the remaining dry ingredients and repeat the gentle folding process, stopping immediately when everything looks combined to preserve the tender, lofty crumb structure. If using mix-ins like 1 cup chopped toasted walnuts or chocolate chips, scatter them in now and give 2-3 final folds to distribute evenly without overworking the batter.
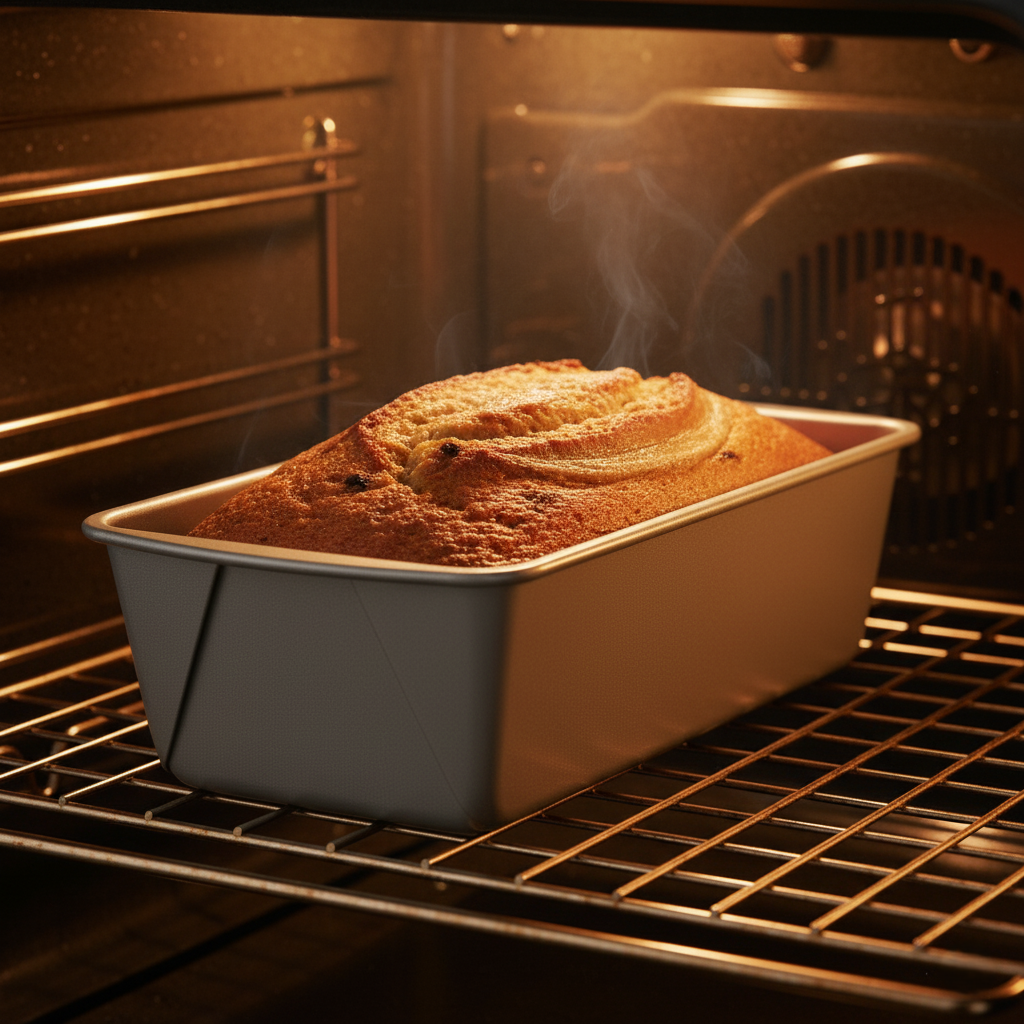
6. Bake Evenly
Scrape the thick batter into your prepared loaf pan, using the spatula to spread it evenly and create a smooth, slightly domed top surface for even rising. Place the pan in the center of the preheated oven rack and bake undisturbed for 50-60 minutes, checking doneness by inserting a toothpick into the center—it should emerge clean or with a few moist crumbs, never wet batter. If the top browns too quickly after 40 minutes, loosely tent with aluminum foil to shield while the interior fully sets.
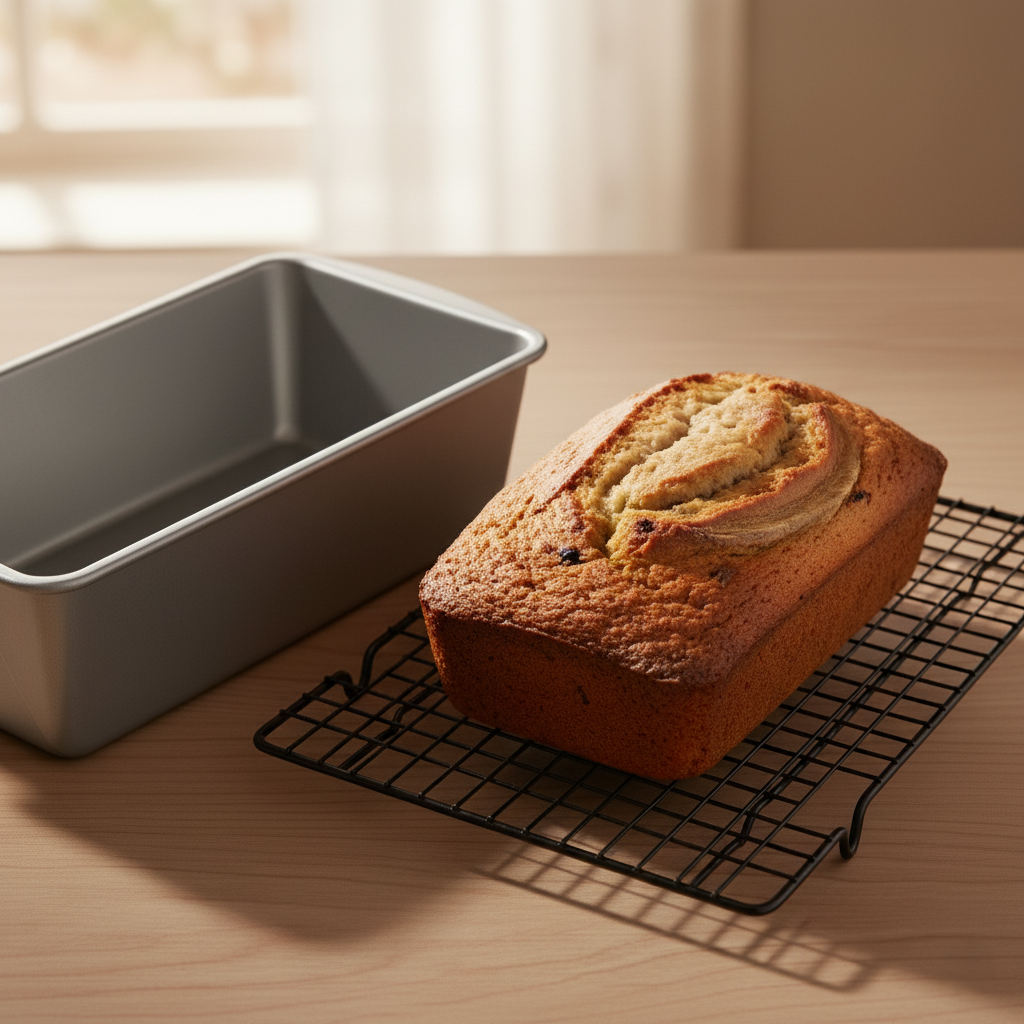
7. Cool for Best Texture
Remove the golden loaf from the oven and let it rest undisturbed in the pan for exactly 20 minutes—this allows steam to escape gradually and prevents the crumb from collapsing. Run a thin knife or offset spatula around the edges, then gently invert onto a wire cooling rack to cool completely right-side-up, which preserves the bottom crust’s crispness and maintains perfect internal structure. For optimal slicing texture, wait until the loaf is just slightly warm to the touch before cutting into thick, neat slices.
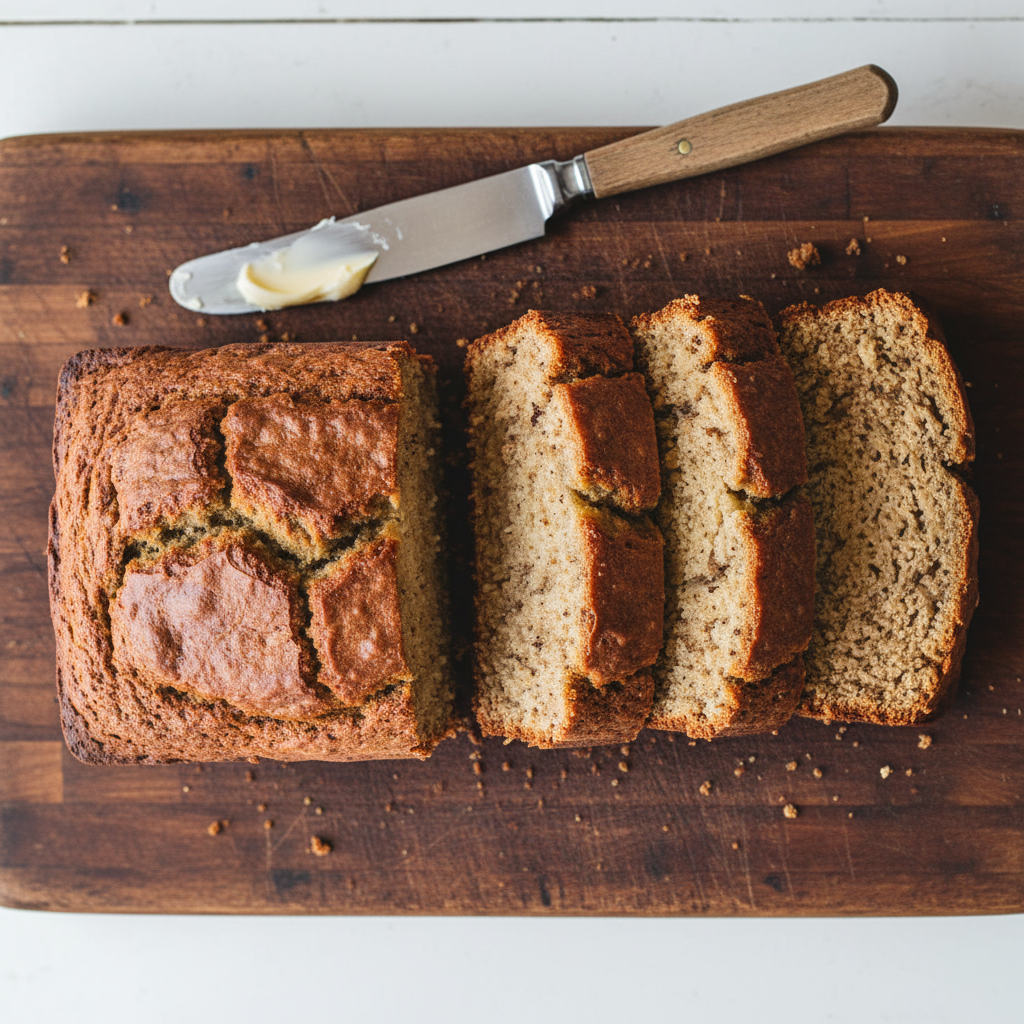
Serving Suggestions
Toast thick slices and spread with butter or cream cheese for breakfast or snacks. For café-style treats, add nut butter or honey drizzle with flaky salt for balance.
FAQs
Can I use frozen bananas?
Yes! Thaw them, drain excess liquid, then mash for accurate measurement to maintain moisture balance.
Why add oil along with butter?
Butter adds flavor, while oil keeps the bread moist and tender for longer without greasiness.
What pan works best?
A light-colored 9×5 metal pan bakes evenly and prevents burning or undercooked centers compared to glass or ceramic.
How do I know when it’s done?
The top should be golden, and toothpick inserted comes out clean or with moist crumbs. Tent with foil if browning too quickly.
Conclusion
This banana bread is proof that the best recipes are often the simplest. It’s a delicious way to use up overripe fruit and get a boost of Potassium and nutrient levels in bananas at the same time.
Once you’ve polished off a loaf, keep the breakfast baking streak alive. Our Perfect Fluffy Pancakes are waiting to make your next Saturday morning unforgettable.